Wordpress
Student | Tech enthusiast | Aspiring software developer
How to Build an eCommerce Website with WordPress Locally (Step-by-Step Guide)
If you’ve ever wanted to build your own eCommerce website but don’t want to spend money on hosting right away, setting up WordPress locally is the perfect starting point. In this guide, I’ll walk you through everything—from understanding what WordPress is, to installing it on your own computer, to setting up a basic eCommerce site. Let’s dive in.
What is WordPress?
WordPress is a powerful and popular content management system (CMS) used by millions of websites across the globe. It allows users to build websites and blogs without needing to write code from scratch. Thanks to its wide range of themes, plugins, and customization options, it’s also perfect for building an online store.
What Does "Localhost" Mean?
When people browse websites, their computer connects to a server somewhere on the internet to fetch and display content. But with localhost, your own computer acts as that server.
In other words, a localhost environment is a private space where you can install and run websites (like WordPress) directly on your machine. No one else can access this site unless they’re using your computer. It’s ideal for development, learning, and testing before making your site live.
Why Install WordPress Locally?
Here are a few reasons to install WordPress on your local computer:
Privacy: Your site is only visible to you.
No Hosting Fees: You don’t need to pay for web hosting until you’re ready.
Experiment Freely: Try new themes, plugins, or layouts without affecting a live site.
Offline Access: You don’t even need an internet connection to build and test your site.
Can You Create Multiple Local WordPress Sites?
Yes, absolutely. You can run several WordPress websites locally. Just create a separate folder for each one (like mysite1, storeproject, etc.) and set up unique databases for each project.
What Do You Need to Run WordPress Locally?
WordPress relies on three key technologies:
Apache (a web server)
MySQL (a database system)
PHP (a programming language)
Luckily, you don’t need to install each of these individually. Instead, you can install a software package that includes all three.
Best Localhost Environments for WordPress
Depending on your operating system, choose one of these tools:
XAMPP – Works on Windows, macOS, and Linux. Very popular and reliable.
WAMP – Best for Windows users.
MAMP – Great for Mac users, but also runs on Windows.
LAMP – Ideal for Linux users, but requires manual setup.
Valet – Lightweight and developer-friendly, best for Mac and Laravel/WordPress developers.
We’ll use XAMPP in this guide since it works on all major operating systems.
Step-by-Step: How to Install WordPress on Localhost
1. Download and Install XAMPP
Go to Apache Friends and download XAMPP for your system. Install it just like any other software. Once installed, open the XAMPP Control Panel and start Apache and MySQL.
2. Download WordPress
Visit the official WordPress.org site and download the latest version. This will come as a .zip file.
3. Move WordPress Files to the Local Server
After downloading WordPress:
Extract the ZIP file.
Copy the folder inside (usually named
wordpress) into thehtdocsfolder found inside your XAMPP installation directory (usuallyC:/xampp/htdocson Windows).Rename this folder to whatever you want your site name to be (e.g.,
mystore).
4. Create a MySQL Database
Now, let’s set up the database for your local WordPress site:
Open your browser and go to
localhost/phpmyadmin.Click New in the sidebar.
Give your database a name (e.g.,
mystoredb) and chooseutf8_unicode_cias the collation. Click Create.Optional: Create a new database user (go to Users > Add user, fill in the details, and give full privileges). For most local setups, the default MySQL user
root(with no password) is enough.
5. Run the WordPress Installer
In your browser, go to localhost/mystore (replace "mystore" with the folder name you chose earlier).
You should see the WordPress installation screen:
Choose your language and continue.
Enter your database details:
Database Name: the one you created (e.g.,
mystoredb)Username:
rootPassword: leave blank
Database Host:
localhostTable Prefix: keep it as
wp_or change it for security
Click Submit, then Run the Installation.
Fill in your website title, admin username, password, and email. These can be changed later, so don’t worry too much.
Click Install WordPress and then Log In with the credentials you just created.
Congratulations — your local WordPress site is now up and running!
Next Steps: Set Up an eCommerce Site
Install a Theme
Visit
localhost/mystore/wp-admin.In the dashboard, go to Appearance > Themes.
Click Add New, search for a theme (like Astra or Storefront), and click Install, then Activate.
For premium themes, click Upload Theme, select the
.zipfile, install, and activate.
Install an eCommerce Plugin (WooCommerce)
Go to Plugins > Add New.
Search for WooCommerce.
Install and activate it.
WooCommerce will launch a setup wizard—follow it to set up your store, add products, choose a payment method, and more.
Testing and Experimenting Locally
Now that your eCommerce site is running locally:
Try adding new products.
Test different themes and page builders (like Elementor).
Experiment with layouts, menus, and checkout processes.
Test your site’s responsiveness on various screen sizes and browsers.
Step 1: Install WordPress and WooCommerce Plugin
Make sure you have WordPress installed and running on your hosting or local server.
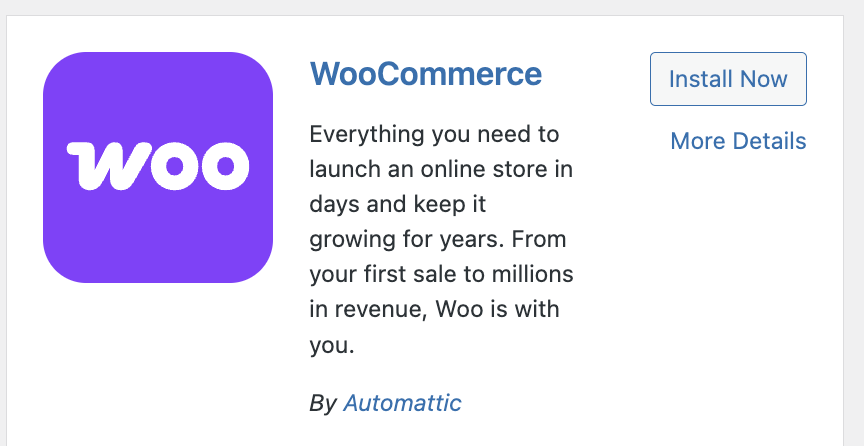
Go to your WordPress dashboard, then navigate to Plugins > Add New. Search for WooCommerce, install it, and activate the plugin. Once activated, WooCommerce will automatically launch a setup wizard.
Step 2: WooCommerce Setup Wizard Overview
The setup wizard guides you through basic store configuration:
Store Details: Enter your store location, currency, and unit preferences (weight, dimensions).
Industry: Select your industry to help WooCommerce recommend relevant features and plugins.
Product Types: Choose if you will sell physical, digital, or both types of products.
Business Details: Share if your business is official or a hobby for tax and legal advice.
Theme: Choose a WooCommerce-compatible theme like Storefront or skip if you have one.
Activate Recommended Plugins: WooCommerce suggests installing extra plugins like Jetpack for added features.
Complete the wizard; you can always adjust these settings later.
Step 3: Choose and Install a WooCommerce-Compatible Theme
The right theme is crucial for your store’s look and user experience.
Go to Appearance > Themes > Add New, search for Storefront (official WooCommerce theme), or any other popular WooCommerce themes such as Astra, Flatsome, OceanWP, or GeneratePress.
Install and activate the theme.
Use Appearance > Customize to change your site’s logo, colors, header, footer, typography, and homepage layout.
Many themes offer custom templates for shop, product pages, and checkout.
Step 4: Add Your First Product
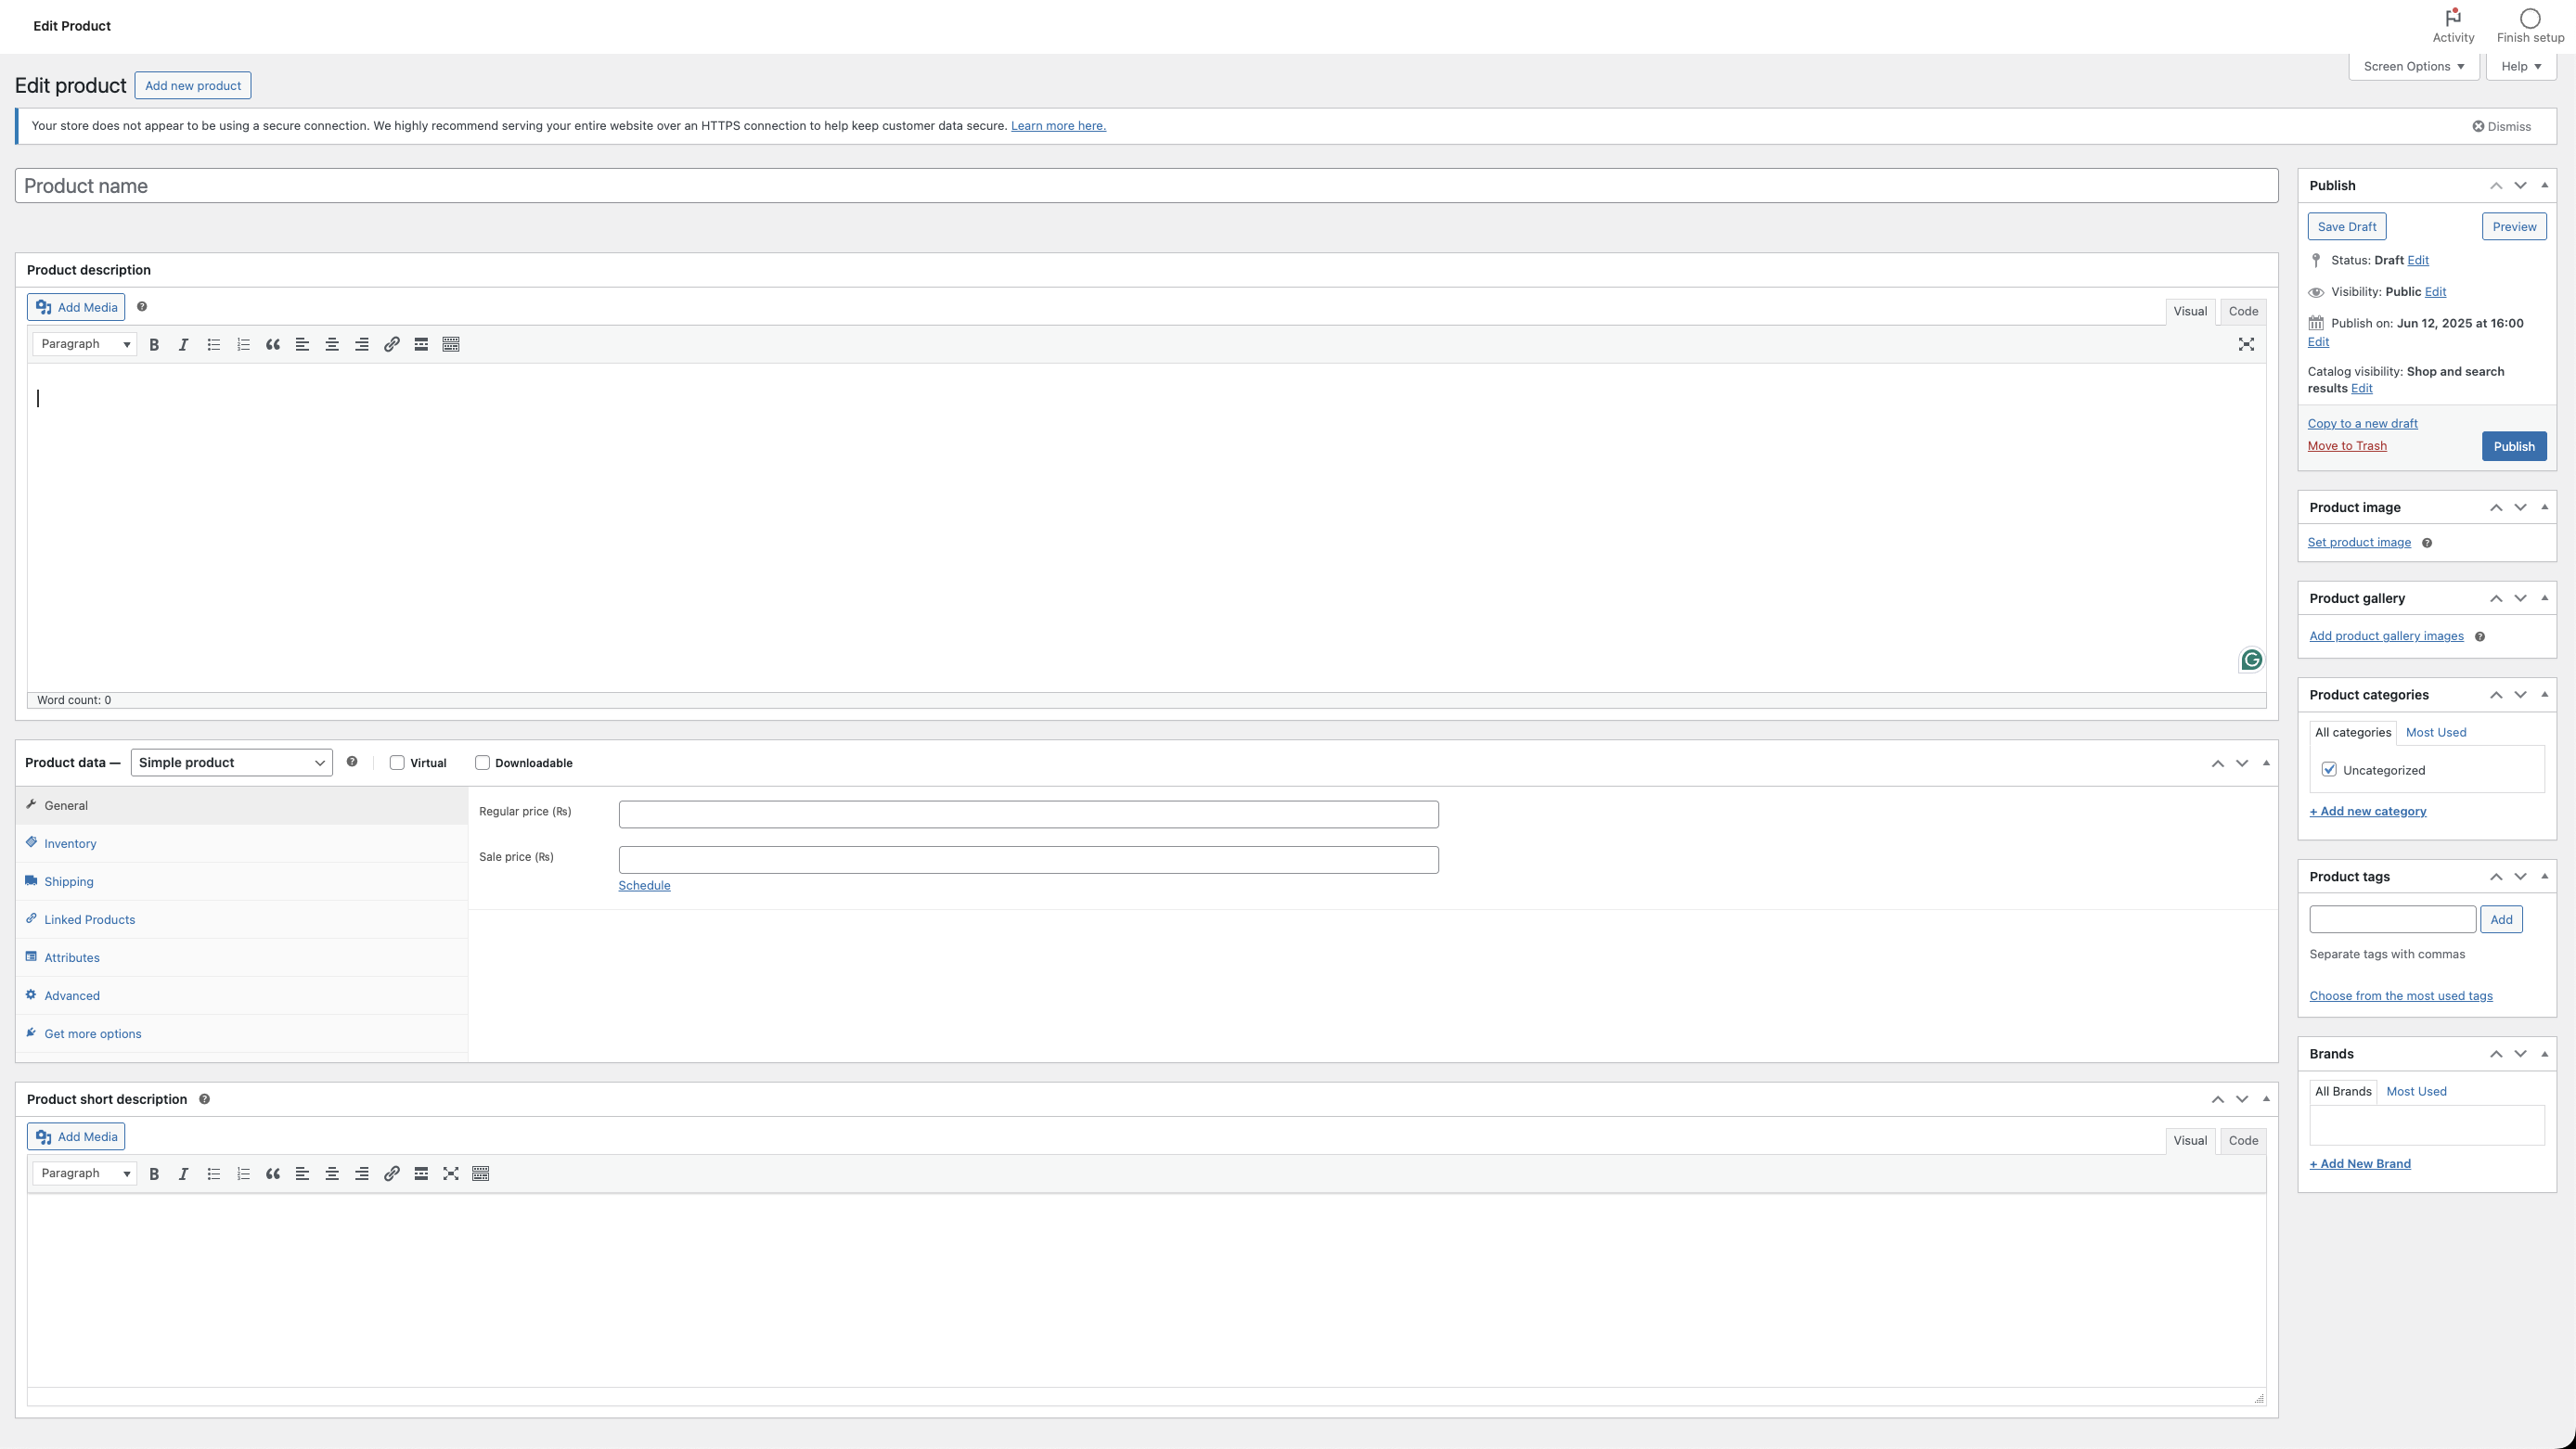
Navigate to Products > Add New.
Enter a clear, descriptive Product Name.
Write a detailed Product Description in the main editor — this is the long description customers see.
Add a Short Description below the editor — it shows near the product price and image on product pages.
In the Product Data box:
Select the product type (Simple, Variable, Grouped, etc.).
Enter Regular Price and Sale Price (optional).
Under Inventory, add SKU (unique ID), manage stock, allow backorders if needed.
In the Shipping tab, enter weight and dimensions, which helps calculate shipping costs.
Use the Linked Products tab for cross-sells and upsells to increase average order value.
Define Attributes for product variations (color, size).
For Variable Products, create variations based on attributes with unique prices and stock.
On the right, assign the product to relevant Categories and add Tags for better navigation and SEO.
Upload a Product Image (main photo) and add multiple images to the Product Gallery.
Publish the product.
Step 5: Configure Store Settings in WooCommerce
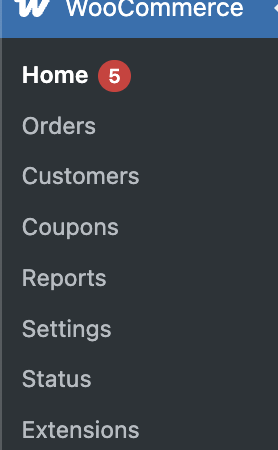
Go to WooCommerce > Settings to configure important options:

General Tab:
Set your store’s address, selling locations, and currency options. Choose whether you sell to specific countries or worldwide.
Enable or disable taxes and coupons.
Products Tab:
Control how products appear in your store.
Set image sizes for thumbnails and catalog views.
Enable product reviews, ratings, and set the number of products per page.
Tax Tab:
Enable taxes if applicable.
Add tax rates based on country, state, or postal codes.
Choose whether prices include tax or add tax at checkout.
Shipping Tab:
Create shipping zones — regions you ship to (e.g., local, national, international).
Add shipping methods per zone:
Flat Rate: Fixed shipping cost.
Free Shipping: Set conditions (e.g., minimum order).
Local Pickup: Customers pick up orders themselves.
Add Shipping Classes to assign shipping costs based on product categories.
Payments Tab:
Enable payment methods like PayPal, Stripe, bank transfer, cash on delivery.
Configure API keys and credentials for each payment gateway.
Enable test mode to simulate payments before going live.
Accounts & Privacy Tab:
Control customer account creation, guest checkout, and data privacy settings.
Emails Tab:
Manage automated emails WooCommerce sends for new orders, processing, completed orders, refunds, etc.
Customize email content, header image, sender name, and email address.
Step 6: Setup Payment Gateways
Go to WooCommerce > Settings > Payments.
Activate the payment methods you want, such as PayPal or Khalti.
To set up PayPal: Click Set up or Manage, enter your PayPal email, configure options like IPN notifications, and save changes.
To set up Khalti:
First, install the WooCommerce Khalti Payment Gateway plugin. Go to Plugins > Add New, search for Khalti WooCommerce, install and activate it.
Then go back to WooCommerce > Settings > Payments, find Khalti in the list, and click Set up or Manage.
Enter your Khalti Merchant ID and Secret Key (these you get from your Khalti merchant dashboard).
Configure any additional settings like enable/disable test mode, payment description, and save changes.
Always test payments using Khalti’s sandbox mode or test credentials before going live to ensure everything works smoothly.
Step 7: Shipping Setup in Detail
Shipping is key for customer satisfaction and cost management.
Create shipping zones (e.g., USA, Europe, Asia).
Within each zone, add multiple shipping methods and set costs.
Example: For your local zone, offer Free Shipping on orders over $50 and Flat Rate $5 for others.
Create Shipping Classes such as “Heavy,” “Fragile,” or “Oversized” for products that require special shipping fees.
Assign shipping classes when adding or editing products.
WooCommerce calculates shipping at checkout based on these rules.
Step 8: Managing Orders and Customers
Go to WooCommerce > Orders to see all orders.
Each order shows order number, customer name, date, status, and total amount.
Click an order to see details: customer info, products purchased, payment method, shipping address.
You can update order status manually or in bulk.
Add internal notes or customer notes to communicate order updates.
Refund orders partially or fully from the order screen.
Customer profiles are under Users. WooCommerce stores their purchase history, billing and shipping info, and order notes.
Step 9: Product Inventory Management
WooCommerce lets you track stock globally or per product.
In WooCommerce > Settings > Products > Inventory, enable stock management.
Set global options for low stock threshold and notifications.
For each product, enable Manage stock? and enter stock quantity.
WooCommerce automatically decreases stock on purchase and alerts you when running low.
You can also mark products as “Out of Stock” or allow backorders.
Step 10: Optimize Product Pages and Shop Experience
Use plugins or theme options to add features:
Product filters by category, price, or attributes.
Quick view pop-ups for faster browsing.
Product reviews and ratings to build trust.
Related products and upsells on product pages to boost sales.
Wishlist and compare buttons.
Ensure product images are high quality but optimized for fast loading.
Step 11: Customize Checkout and Cart Pages
WooCommerce uses default pages for Cart, Checkout, My Account.
Go to WooCommerce > Settings > Advanced to assign these pages.
Use plugins like WooCommerce Checkout Manager to add or customize checkout fields.
Enable guest checkout or force account creation.
Add terms and conditions acceptance checkbox.
Enable payment method icons and customize checkout appearance via your theme or custom CSS.
Step 12: Marketing and SEO for Your WooCommerce Store
Install Yoast SEO or Rank Math with WooCommerce integration.
Optimize product titles, descriptions, URLs, and images for search engines.
Add structured data markup to product pages for rich snippets.
Use WooCommerce Coupons to create discount codes.
Use plugins for email marketing automation (like Mailchimp for WooCommerce).
Add Google Analytics eCommerce tracking to monitor conversions.
Promote your store on social media with share buttons.
Step 13: Backup, Security, and Maintenance
Install security plugins like Wordfence or Sucuri.
Use SSL certificates to secure checkout pages (HTTPS).
Schedule regular backups of your database and files with plugins like UpdraftPlus.
Regularly update WooCommerce, WordPress core, themes, and plugins.
Test your checkout flow periodically.
Monitor website speed and optimize images and caching with plugins like WP Rocket or W3 Total Cache.
Step 14: Launch Your Store and Manage Growth
Once everything is tested:
Remove test payments and enable live payment gateways.
Announce your launch on social media, email, and ads.
Monitor orders and customer feedback carefully.
Scale your store by adding more products, expanding shipping zones, and offering promotions.
Use WooCommerce reports to analyze sales trends and customer behavior.
That’s the full in-depth process for setting up a complete WooCommerce eCommerce store on WordPress. Each step can be explored and customized based on your store’s niche and goals.
If you want, I can help you with specific parts like theme customization, advanced shipping setups, or payment gateway integration! Just ask.

